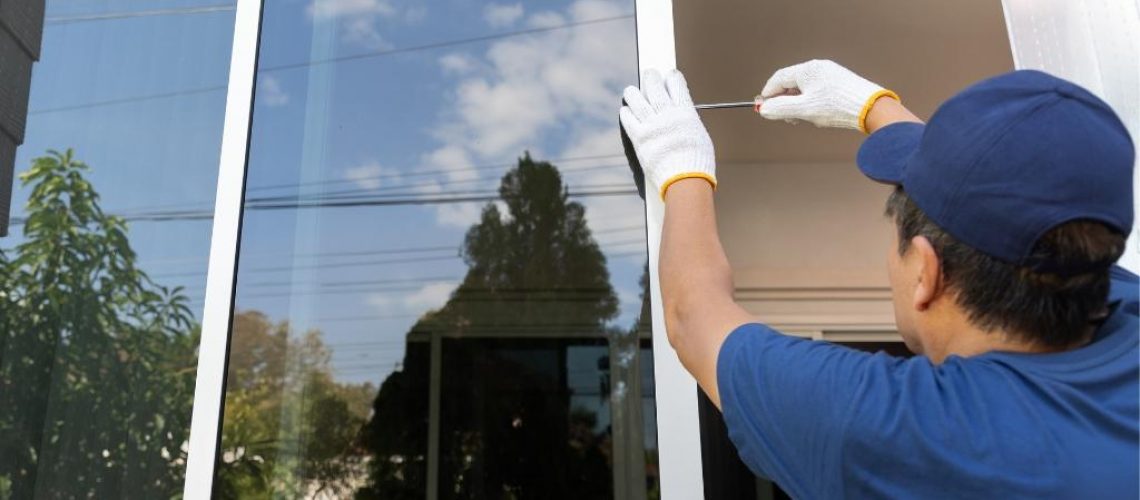
Installing slider windows can enhance your home’s energy efficiency, ventilation, and overall appearance. Whether you’re replacing old windows or upgrading to a new style, proper installation is key to long-lasting performance.
This guide will take you through each step, ensuring a secure and professional-quality installation.
What Are Slider Windows?
Slider windows are a type of window that opens horizontally by gliding along a track. Instead of lifting or swinging open like other window styles, they slide from side to side, making them easy to operate.
Why Choose Slider Windows?
Before getting into the installation process, let’s look at why slider windows are a popular choice among homeowners.
✅ Easy to Operate – They glide open horizontally, making them ideal for hard-to-reach areas.
✅ Great for Ventilation – Open one or both panels to improve airflow in your home.
✅ Low Maintenance – Fewer moving parts mean fewer chances of wear and tear.
✅ Unobstructed Views – Large glass panels provide a clean, open look.
Now, let’s move on to the installation process.
Tools and Materials You’ll Need
Before you begin, make sure you have the right tools and materials for a smooth installation. Having everything prepared in advance will save time and prevent unnecessary delays.
Tools:
- Tape measure
- Level
- Utility knife
- Caulking gun
- Drill and screwdriver
- Pry bar
- Hammer
Materials:
- New slider windows
- Insulation foam
- Weatherstripping
- Screws and nails
- Shims
- Exterior-grade sealant
Once you have everything ready, you can begin the installation process.
Step 1: Remove the Old Window
Before installing the new slider window, you must remove the existing one. Doing this carefully will help prevent damage to the surrounding wall.
- Loosen the Trim – Use a pry bar to remove the interior and exterior trim without damaging the wall.
- Unscrew or Cut Fasteners – If the old window is screwed in, remove the screws. If it’s nailed, use a reciprocating saw to cut through the nails.
- Lift Out the Window Frame – Gently push the old window frame out of the opening. If it’s stuck, use a utility knife to cut through any remaining caulk or sealant.
- Clean the Opening – Remove old insulation, debris, and adhesive to create a clean surface for the new window.
If you find rotted wood around the frame, repair it before installing the new window to prevent future issues.
Step 2: Prepare the Window Opening
A properly prepared opening ensures a secure and energy-efficient installation. Before inserting the new window, make sure the opening is the right size and properly sealed.
- Measure the Opening – Double-check the width and height to ensure the new slider window will fit.
- Level the Sill – Use a level to check if the sill is even. If needed, add shims for support.
- Apply Flashing Tape – To prevent water damage, apply flashing tape along the bottom and sides of the opening.
Taking the time to prepare the opening will help prevent future leaks or air drafts.
Step 3: Insert the New Slider Window
Now that the opening is ready, you can position and secure the new window. This step ensures that your slider window fits properly and operates smoothly.
- Test Fit the Window – Before applying sealant, place the window in the opening to confirm it fits correctly.
- Apply Sealant – Run a bead of exterior-grade caulk along the back of the window’s flange to create a waterproof seal.
- Position the Window – Carefully insert the window into the opening, pressing it firmly against the caulk.
- Secure with Screws – Drive screws through the window’s pre-drilled holes into the surrounding frame. Make sure the window is level and square before fully tightening.
- Add Shims for Stability – Place shims behind the frame where needed to keep the window secure. Trim any excess shims that stick out.
Step 4: Insulate and Seal the Window
Proper insulation and sealing prevent drafts and water leaks, keeping your home energy-efficient and protected from the elements.
- Apply Insulation Foam – Fill any gaps between the window frame and the wall with low-expanding spray foam insulation. Avoid overfilling to prevent warping.
- Install Weatherstripping – Add weatherstripping along the edges of the window to improve insulation and block out drafts.
- Caulk Around the Frame – Apply a bead of exterior-grade sealant along the outside of the window to prevent water infiltration.
Step 5: Reinstall Trim and Test the Window
Once the window is secured and sealed, the final step is to reinstall the trim and check for smooth operation.
- Replace Interior and Exterior Trim – Secure the trim back into place with nails or screws. Use caulk to seal any gaps.
- Clean the Window Track – Remove any dust or debris from the track to ensure smooth sliding.
- Test the Slider Window – Open and close the window multiple times to check for smooth movement and a tight seal.
If everything functions correctly, your slider window installation is complete!
Why Proper Installation Matters
A well-installed slider window ensures:
✔️ A secure fit that prevents air leaks and energy loss
✔️ Smooth operation without sticking or jamming
✔️ Long-term durability with proper insulation and sealing
A poorly installed window can lead to drafts, moisture buildup, and high energy bills. If you’re unsure about any step, consider hiring a professional for expert installation.
Common Mistakes to Avoid
Even with the right tools, some homeowners make mistakes that lead to costly repairs. Avoid these common pitfalls:
🚫 Skipping Measurements – Even small errors can result in an improper fit.
🚫 Forgetting to Level the Window – A crooked window won’t slide properly.
🚫 Using Too Much Insulation Foam – Overfilling gaps can cause the frame to warp.
🚫 Neglecting Weatherproofing – Without proper sealing, air and moisture can get in.
Taking your time and following the right steps will ensure a high-quality installation that lasts.
Upgrade Your Home with Professionally Installed Slider Windows
Installing slider windows can improve your home’s comfort, efficiency, and style. If you’re ready to upgrade but want expert installation, Ameritech Windows offers high-quality solutions and professional service. Contact us today for a free consultation!


